
Last updated November 18, 2026
 Architectural shingles
 Metal roofing
 Tile roofing
 GAF
 Owens Corning
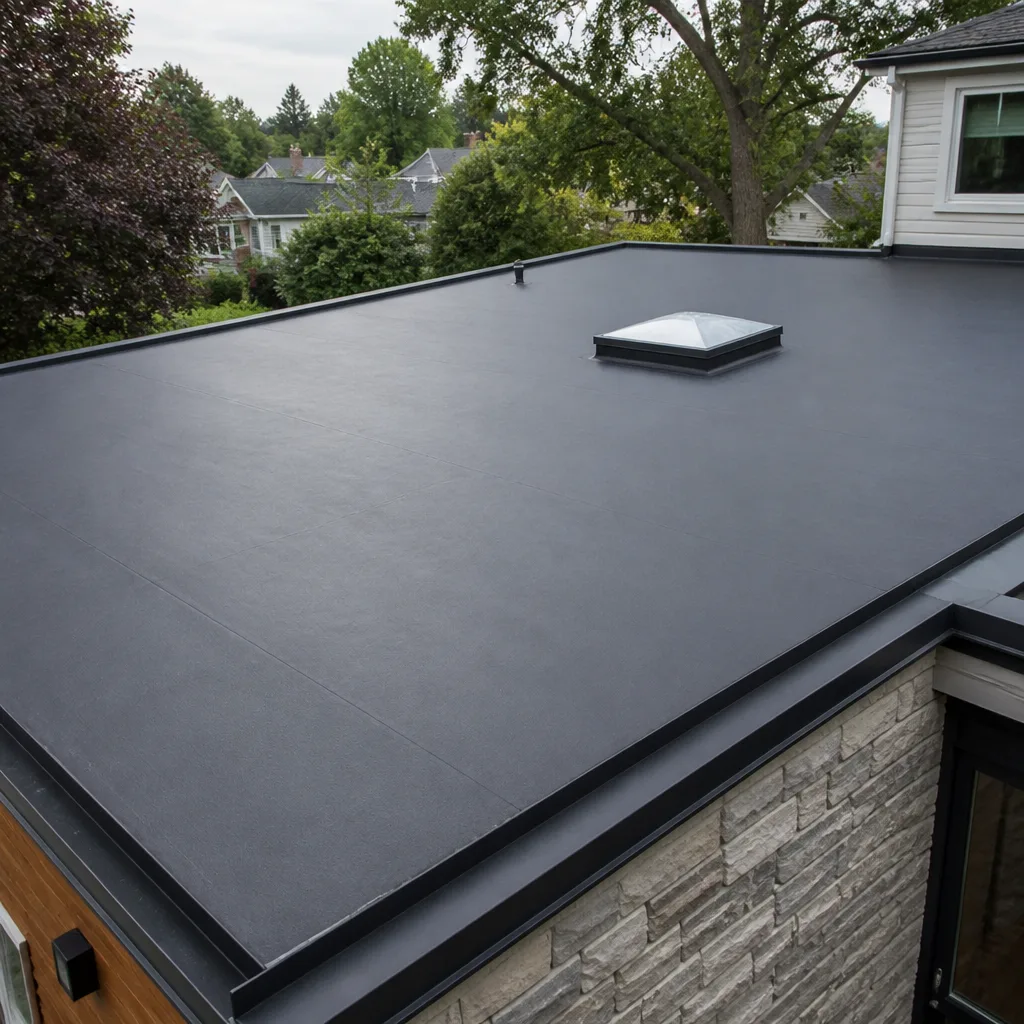 Flat & low-slope
Free roof inspection with deck photos before we talk money - GAF and Owens Corning certified installation
Emergency & Storm Damage Troubleshooting: Common Problems and How to Fix Them
Most of the damage we’re called out to look at after a bad monsoon in Sunrise Manor wasn’t done by the wind. It was done in the hour after the storm, by a homeowner with a ladder, a blue tarp, and the best of intentions. Here’s the part that surprises people: tarping a roof wrong, or fastening it the wrong way, can move insurance liability off the storm and onto you. Not always. But often enough that we’ve seen adjusters deny claims over it. What follows is a working guide to the first hour, the first day, and the first week after storm damage hits a Sunrise Manor roof: how to tell one problem from another, what to touch and what to leave alone, and who to call in what order.
Quick Answer
After storm damage, the safest first move is documentation, not repair: photograph everything from the ground before you touch it, keep a written timeline of when the storm hit and when you noticed each problem, and call a licensed roofer for a professional inspection before you get on the roof or clean anything up. Only deploy a tarp yourself if water is actively entering the home and you can do it safely from the ground. In Sunrise Manor, monsoon winds, flash flooding, and summer heat combine to turn small roof breaches into interior damage within days, so getting a professional eyes-on assessment fast matters more than any cosmetic fix.
Styles & brands we work with
- Architectural shingles
- Metal roofing
- Tile roofing
- GAF
- Owens Corning
- Flat & low-slope
Table of Contents
- The Three-Problem Triage: Active Leak vs. Suspected Damage vs. Structural Concern
- How to Deploy an Emergency Tarp Without Voiding Coverage
- Telling Wind Damage from Pre-Existing Wear
- What Water Intrusion Looks Like on Foam, Tile, and Shingle Roofs
- The Documentation Checklist: Photos, Order, and What Not to Clean
- The First 24 Hours: A Step-by-Step Sequence
- Sunrise Manor Storm Patterns and Roof Types
The Three-Problem Triage: Active Leak vs. Suspected Damage vs. Structural Concern
Not every storm problem is the same emergency, and treating them the same wastes time and money. In our experience across Sunrise Manor, homeowners usually fall into one of three buckets within minutes of picking up the phone. Sorting yourself into the right bucket tells you who to call and how fast.
1. Active leak
Water is entering the house right now. You see it dripping, pooling, or staining a ceiling that was dry an hour ago. Call a roofer first, water mitigation second, insurance third. If water is near electrical fixtures or the panel, kill the breaker to that zone before anything else.
2. Suspected damage
You see missing shingles, granules in the gutter, dented vents, or a ceiling stain that might be old. No water is entering at this moment. Call a roofer for a documented inspection within a day or two. Don’t climb up yourself to confirm.
3. Structural concern
A sagging ceiling, a crack that wasn’t there yesterday, a wall that sounds hollow when tapped, or visible deflection in the roof line. Call a roofer immediately and stay out of the affected room. Structural deflection is rare after a monsoon, but when it happens it’s a safety issue, not a repair issue.
If you’re not sure which bucket applies, call anyway. Our phones are staffed by a live person 24 hours a day, seven days a week, and a two-minute conversation usually sorts it out. Our team at Ridgeline Roofing Co. Sunrise Manor home handles this kind of triage constantly during the July and August storm season.
How to Deploy an Emergency Tarp Without Voiding Coverage
Here’s the truth most roofers won’t lead with: an emergency tarp is a legitimate, often expected part of storm response, and adjusters do not deny claims just because a tarp is there. What gets claims denied is improper fastening that causes secondary damage, or a homeowner who climbs onto a damaged roof and puts a foot through it. The tarp isn’t the problem. The technique is.
Do not climb on a storm-damaged roof. We mean that plainly. Wind-lifted shingles, wet tile, and loosened underlayment give way without warning, and a fall from a single-story roof in Sunrise Manor is a hospital trip. If the leak is active, call us. If you absolutely must tarp and can reach the affected area with a long pole from a ladder set on firm ground, here is the safe sequence:
- Photograph the damage first, from the ground, before the tarp goes anywhere. That photo is the evidence your claim rests on.
- Use only the tarp and fasteners that come from your own supplies, not the roofer’s, until the roofer is on site. Homeowner-installed tarps are usually treated as temporary mitigation and are typically reimbursable under most homeowner policies as “reasonable steps to prevent further damage.”
- Overlap the tarp at least 12 inches above the highest edge of the damage, so water sheds over the damaged area rather than getting trapped underneath.
- Fasten to the fascia or eave with plastic cap nails or sandbags, never to the field of the roof. Nailing through surviving shingles creates new holes that an adjuster will treat as homeowner-caused damage and remove from the claim.
- Weight the bottom edges with sandbags, not bricks or rocks. Rocks shift, tear the tarp under wind, and become projectiles.
- Note the date and time you tarped. It matters for the claim timeline.
Once you’ve done that, the next call is a professional inspection. A proper inspection with photo-documentation from the actual roof is the only way to know what the tarp is covering. Call Roof Repair in Sunrise Manor and ask for a documented assessment; we do these on tarps and all, and the estimate is free.
Telling Wind Damage from Pre-Existing Wear
Adjusters ask this question directly, and they ask it because the answer changes what’s covered. In our experience, homeowners who can honestly distinguish “this happened in the storm” from “this has been there a while” end up with smoother claims, because their report matches what the adjuster sees. It’s worth taking five minutes to tell the difference before you call.
Wind damage usually looks like:
- Shingles creased, lifted, or torn in a directional pattern that matches the storm’s wind direction
- Missing shingle tabs from the same vertical course, not scattered randomly
- Granules accumulating in a specific gutter or on the ground below one slope
- Lifted ridge caps or a ridge vent peeling up
- Dented metal vents, flashing, or gutters on one side of the roof
Pre-existing wear usually looks like:
- Granules missing uniformly across the roof, or worn bald in patches
- Curling, cracking, or blistering shingles that fail a gentle flex test (don’t flex them yourself; the roofer will)
- Rust streaks along fasteners or under flashing
- Old caulk lines that predate the storm
- Soft spots or bubbling in the interior ceiling that predate the storm date
If you’re unsure, don’t guess and don’t downplay it. Tell the roofer exactly what you believe and what you’re uncertain about, and let the inspection photos speak. The estimate is free, and we’d rather you know the truth about your roof from day one than discover it at claim time. If the inspection reveals a roof near end of life, we’ll talk about Roof Replacement & Installation in Sunrise Manor honestly, including whether waiting is the smarter call.
What Water Intrusion Looks Like on Foam, Tile, and Shingle Roofs
Sunrise Manor has one of the widest roof-type spreads we see anywhere in the valley. That matters because the same monsoon storm can leave three different signatures depending on what’s overhead. Reading the signature correctly tells you where to look and how urgent the problem is.
Flat foam roofs (common on 1960s – 1980s Sunrise Manor homes)
Foam roofs fail at the seams and penetrations first. After a storm, look for pooling water that hasn’t drained within 48 hours, blistering or peeling at the topcoat, or cracks that open in a straight line following an underlying seam. Water intrusion on foam often shows up as an interior stain far from the actual breach, because water travels along the foam-to-deck interface. If you see a stain, assume the entry point is not directly above it.
Tile roofs
Tile is designed to shed water, not to be waterproof on its own: the underlayment does the sealing. After a monsoon, look for cracked or displaced tiles (easy to spot), but the bigger concern is underlayment damage that shows up as water staining on the ceiling. A tile roof that sheds water fine in normal rain can leak badly in a wind-driven monsoon, because the water gets pushed sideways under the tile field. If the ceiling is wet but the tiles look intact, that’s a fast call to a roofer.
Shingle roofs
Shingle intrusion usually appears at flashing points first: chimneys, skylights, wall intersections, and valley areas. After a storm, check the ceiling inside those interior locations before you check anywhere else. A brown ring that appears within 24 hours of a monsoon is almost always a flashing failure. Ceiling stains that appear days later are usually a slow weep from wind-lifted shingles.
For specialty roof types, including foam recoat and tile repair, we handle the work under Specialty Roofing in Sunrise Manor. If you’re not sure which roof type the failure pattern matches, call and describe what you see. A live person will help you sort it in a couple of minutes.
The Documentation Checklist: Photos, Order, and What Not to Clean
The single most useful thing you can do after storm damage is photograph everything in a specific order. Adjusters see the photos long before they see the roof, and a clean, ordered set makes the claim move. Here is the order we recommend to homeowners in Sunrise Manor, and it’s the same order our technicians follow when documenting an inspection.
- Overall exterior of the home, from all four corners, at ground level. This establishes the home’s general condition on the day of the storm.
- Close-ups of the visible roof damage, from the ground or from a second-story window. Don’t climb.
- Interior water staining, in every room, with a piece of paper or a dollar bill in frame for scale.
- Contents damage – furniture, flooring, electronics – before you move or dispose of anything.
- Debris on the property, including fallen branches, granules in the gutter, and any damaged landscaping.
- The temporary tarp or mitigation, if you deployed one, with a date stamp.
- Existing documentation of pre-storm condition, if you have it from an old inspection or appraisal. This is gold to an adjuster.
Do not clean up before the inspection. This is the mistake we see most often. Homeowners wipe up the water, sweep up the granules, and throw away the damaged ceiling pieces before anyone arrives, and then the adjuster has nothing to look at. Leave it. If water is actively flowing or the debris is dangerous, stop the flow, but leave the evidence. A second mistake: throwing away the broken pieces of anything. Put them in a bucket in the garage. The adjuster will want to see them.
The First 24 Hours: A Step-by-Step Sequence
What to do, in order, for the first day after storm damage. This is the sequence we walk homeowners through on the phone every monsoon season in Sunrise Manor.
- Check on people first. Then electrical hazards. If water is near the panel or any fixture, kill the breaker to that zone.
- Photograph everything, following the checklist above.
- Start a written timeline: when the storm hit, when you first noticed water, what you touched and when. This becomes part of your claim record.
- Place buckets and towels. Contain the water. Don’t try to stop it from above.
- Move valuables and furniture out of harm’s way, and photograph them in their moved position.
- Call your homeowner’s insurance to open the claim, and note the claim number and the adjuster’s name on your timeline.
- Call a licensed roofer for a documented inspection. Free estimate, no cost to you, and the photo file becomes the backbone of the claim.
- Do not tarp unless water is entering and you can do it safely from the ground. See the tarp section above.
- Do not sign anything from a contractor who knocks on your door uninvited in the days after the storm. This is the storm-chaser season in the valley, and the wrong signature can be very hard to undo.
Ridgeline Roofing Co. was founded in 1984, and in more than four decades of standing behind local roofs we have never once needed to be in town for a storm season and then leave after it. Our technicians are background-checked and arrive in uniform, and they document every inspection with photos taken from your actual roof, not a scary speech in the driveway.
Sunrise Manor Storm Patterns and Roof Types
Sunrise Manor isn’t Las Vegas in the way people imagine Las Vegas from the Strip. The housing stock is older and more varied, the neighborhoods run from mid-century ranch homes to 1990s tract housing, and the storm exposure is specific. Knowing what usually fails here is the fastest way to know what to check on your own home.
Monsoon season in Sunrise Manor runs July into September, and the damage pattern we see most often is wind-driven rain getting under shingles and tile fields that have handled dry weather for years without a problem. The heat angle matters too: summer temperatures above 110°F cure and shrink sealant strips and flashing adhesives over time, so a storm in August finds weak points that a storm in March would have missed. Flat foam roofs on 1970s-era homes in the older parts of Sunrise Manor are a frequent call, because the topcoat takes a beating from both UV and monsoon hail.
Local permit requirements for roofing work in Sunrise Manor follow Clark County’s residential roofing rules, and any reputable roofer pulls the permit before work starts. If a contractor offers to skip the permit to save you money, that’s a signal to close the door. Proper permits and inspections protect you at resale and during any future insurance claim.
Our standard installs use authorized products from CertainTeed, Owens Corning, IKO, and other leading manufacturer lines. If we recommend a material after a storm inspection, it’s because that’s what fits your roof type and your budget, not because it’s what was on the truck.
Common Mistakes to Avoid
- Tarping before photographing. Once the tarp is on, the pre-tarp condition is gone. The photo is your claim’s foundation.
- Fastening a tarp to the field of the roof. Nailing through surviving shingles creates new damage that an adjuster will not cover. Fasten to the fascia or eave.
- Cleaning up before the inspection. Sweeping granules, wiping ceilings, and discarding debris removes the evidence the adjuster needs. Leave it in place.
- Signing an uninvited contractor’s paperwork in the days after the storm. Sunrise Manor gets its share of out-of-town crews after a big monsoon. A door-knock and a signature can become a binding assignment of benefits.
- Calling five roofers and waiting for all of them. Getting one documented inspection done within 24 to 48 hours of the storm is more valuable than five estimates a week later.
- Downplaying pre-existing wear to the adjuster. Getting caught omitting prior damage is worse than admitting it. Honesty gets the claim through.
- Skipping the permit conversation. Any roofer who offers to skip the permit is telling you what the rest of the job will look like.
See the difference
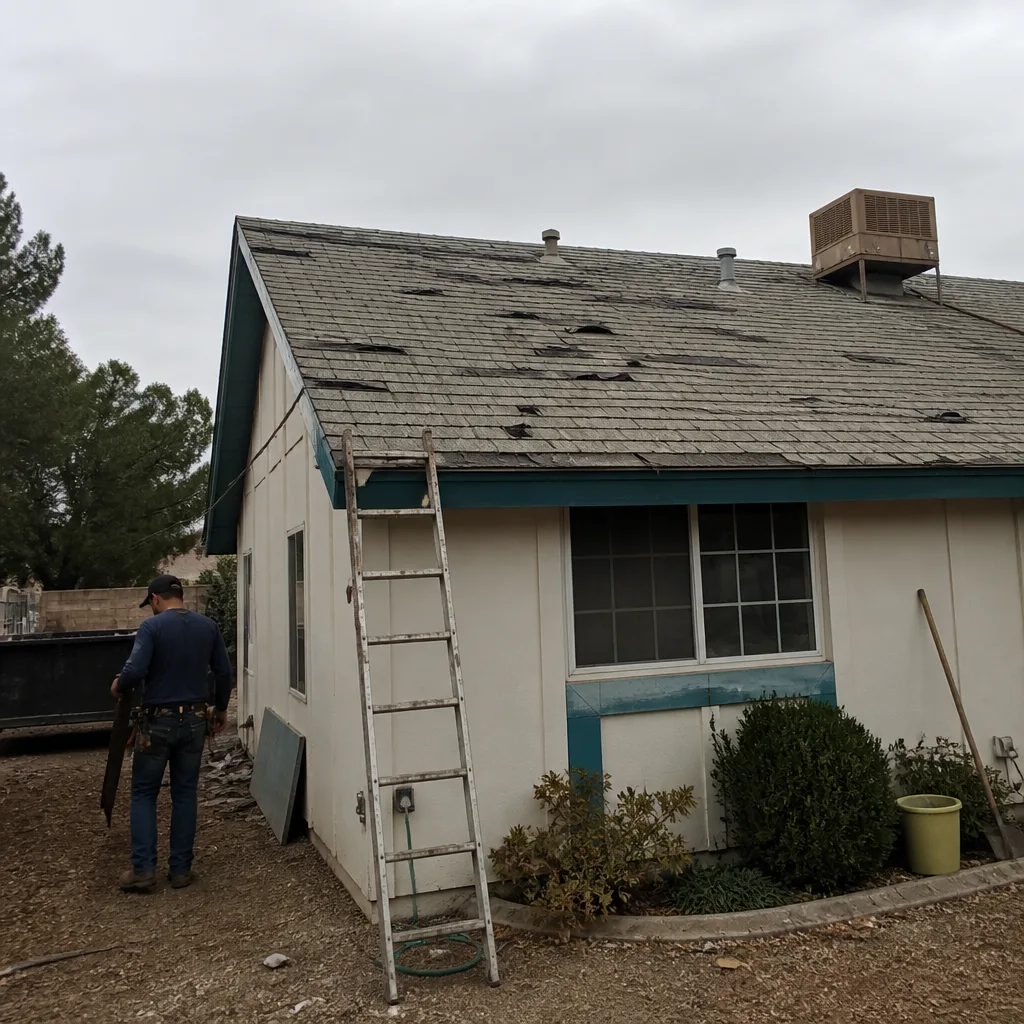 Before
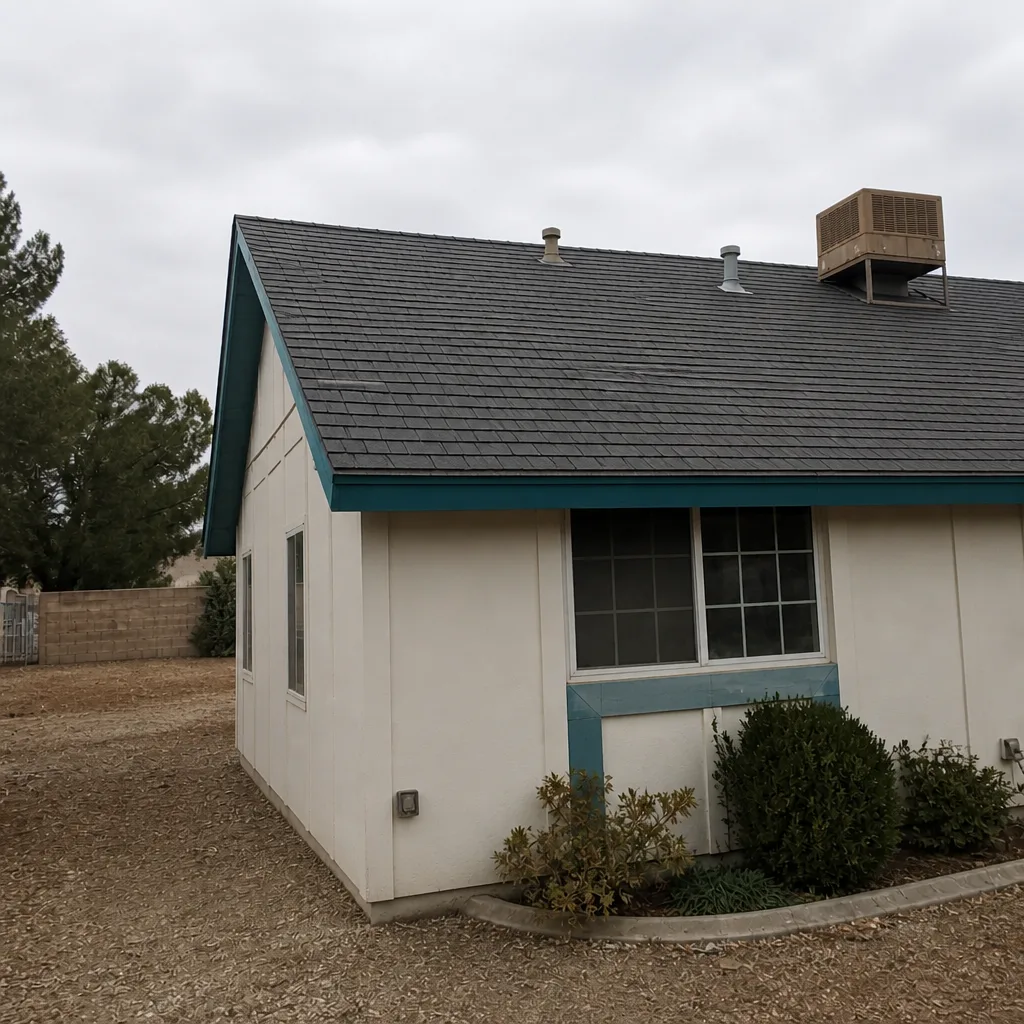 After
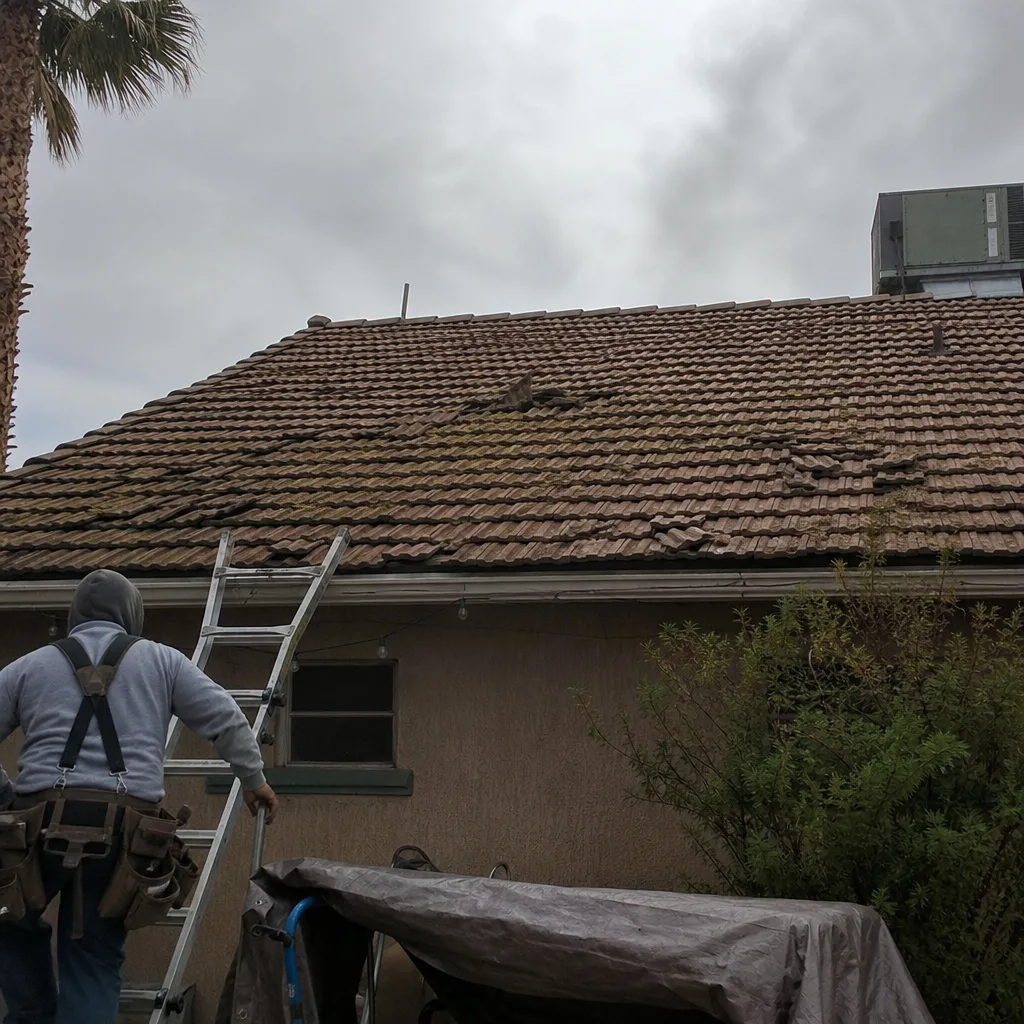 Before
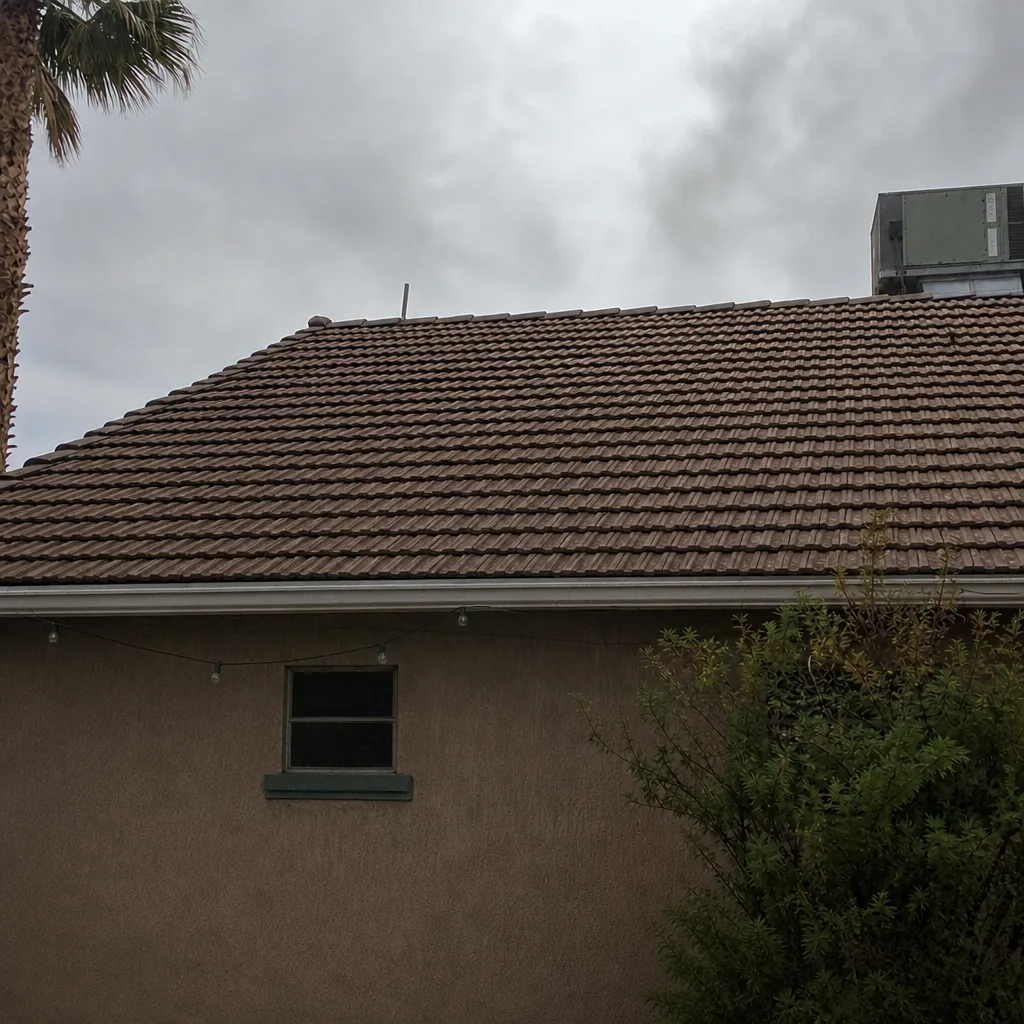 After
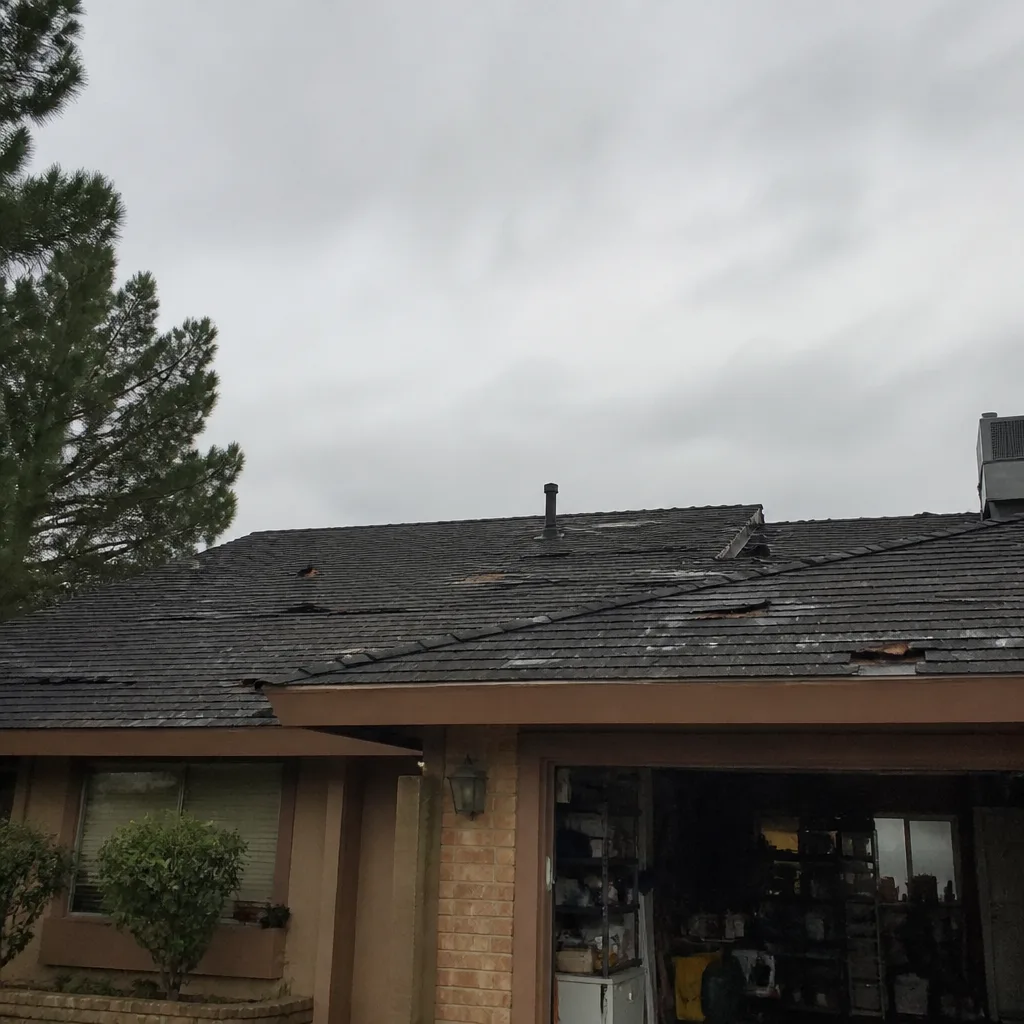 Before
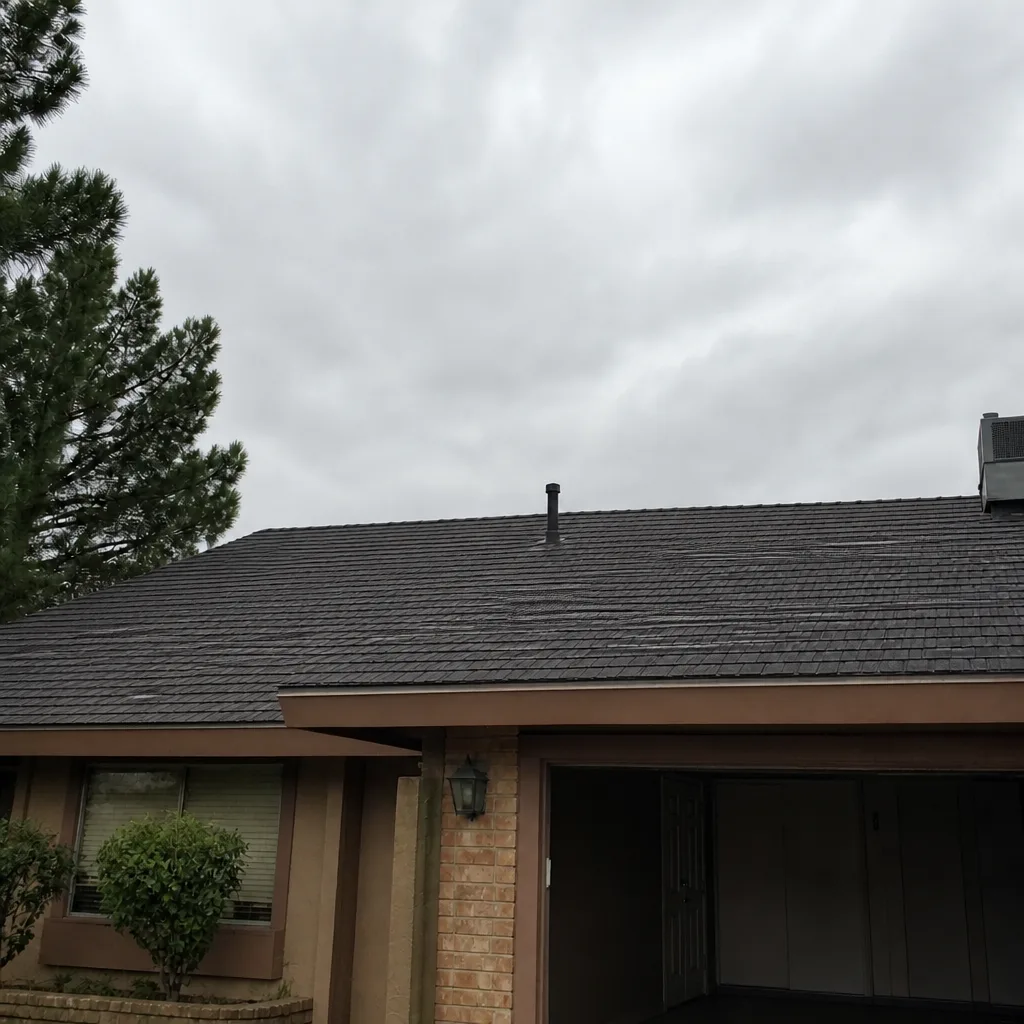 After
When to Call a Professional
Call a licensed roofer, rather than handle it yourself, in any of these situations: water is entering the home; a ceiling is sagging, cracking, or stained in a new pattern; shingles, tiles, or flashing look lifted or missing; a foam roof is pooling or blistering; an insurance claim is about to be opened; or you simply can’t tell wind damage from old wear and want a documented answer. Do not climb on a storm-damaged roof to inspect it. The risk of a fall or of causing new damage is real, and the professional inspection is free. Ridgeline Roofing Co. Sunrise Manor offers free estimates in Sunrise Manor, and our phones are answered by a live person, 24 hours a day, seven days a week. Call (844) 941-3509 the moment the storm has passed and something on your roof doesn’t look right.
Frequently Asked Questions
Photograph the damage from the ground before you touch anything, then call a licensed roofer for a documented inspection. Do not climb on the roof, do not clean up debris, and open the insurance claim only after you’ve photographed and written down what you see. If water is entering the home, kill the breaker to any affected electrical zone, then call for help.
No, not by itself. Emergency tarping is generally reimbursable as a reasonable step to prevent further damage. What does void a claim is tarping improperly, for example nailing through surviving shingles in the middle of the roof field, which creates new damage that the adjuster will treat as homeowner-caused. Photograph before, fasten to the fascia or eave, and note the date.
Wind damage tends to be directional: shingles creased or missing from the same vertical course, granules concentrated in one gutter, lifted ridge caps. Wear tends to be uniform: granules missing across the whole roof, aging caulk lines, curling or blistering shingles. If you’re not sure, don’t guess. A free inspection with photo-documentation from the actual roof gives you an honest answer that holds up with the adjuster.
It depends on how long the water sits. Pools that drain within 48 hours are usually a maintenance issue and worth scheduling an inspection. Pools that stay longer, or any interior staining that follows them, are an active problem because water is finding its way along the deck. Call a roofer and describe what you see; foam roof failures on Sunrise Manor’s older homes are common and we can usually tell from a photo whether it’s urgent.
Most homeowner policies give you a year or more to file, but you should not wait more than a day or two before calling your insurance company to open the claim and get a claim number. The documentation is time-sensitive, not the filing itself. Report the damage while it’s fresh, and get the professional inspection within the first week.
We prioritize active leaks and genuine emergencies, and our phones are staffed by a live person around the clock, including nights and weekends. For non-emergency inspections we schedule the first available slot, usually within a day or two after a storm. When you call, describe what you’re seeing and we’ll tell you honestly how quickly we can be there. Call (844) 941-3509 for an exact timeframe and a free estimate.
The Bottom Line
The first hour after a Sunrise Manor storm is where claims are either protected or quietly undermined. The moves are simple: photograph before you touch, don’t climb on the roof, don’t clean up evidence, tarp only when water is entering and only from the ground, and get a licensed roofer on the property for a documented inspection within a day or two. If the roof needs repair, get it repaired once, with proper permits and materials from manufacturer lines we install as an authorized installer. Every job we do in Sunrise Manor, and everywhere else we work, is backed by our 90-Day Done Right Promise: a written guarantee with no paperwork, no arguing, and no runaround. If it’s not right, we come back and make it right. Call (844) 941-3509 for a free estimate, and let our team take a look before the next storm finds something you didn’t.
Written by the team at Ridgeline Roofing Co. Sunrise Manor.